
Last updated November 20, 2026
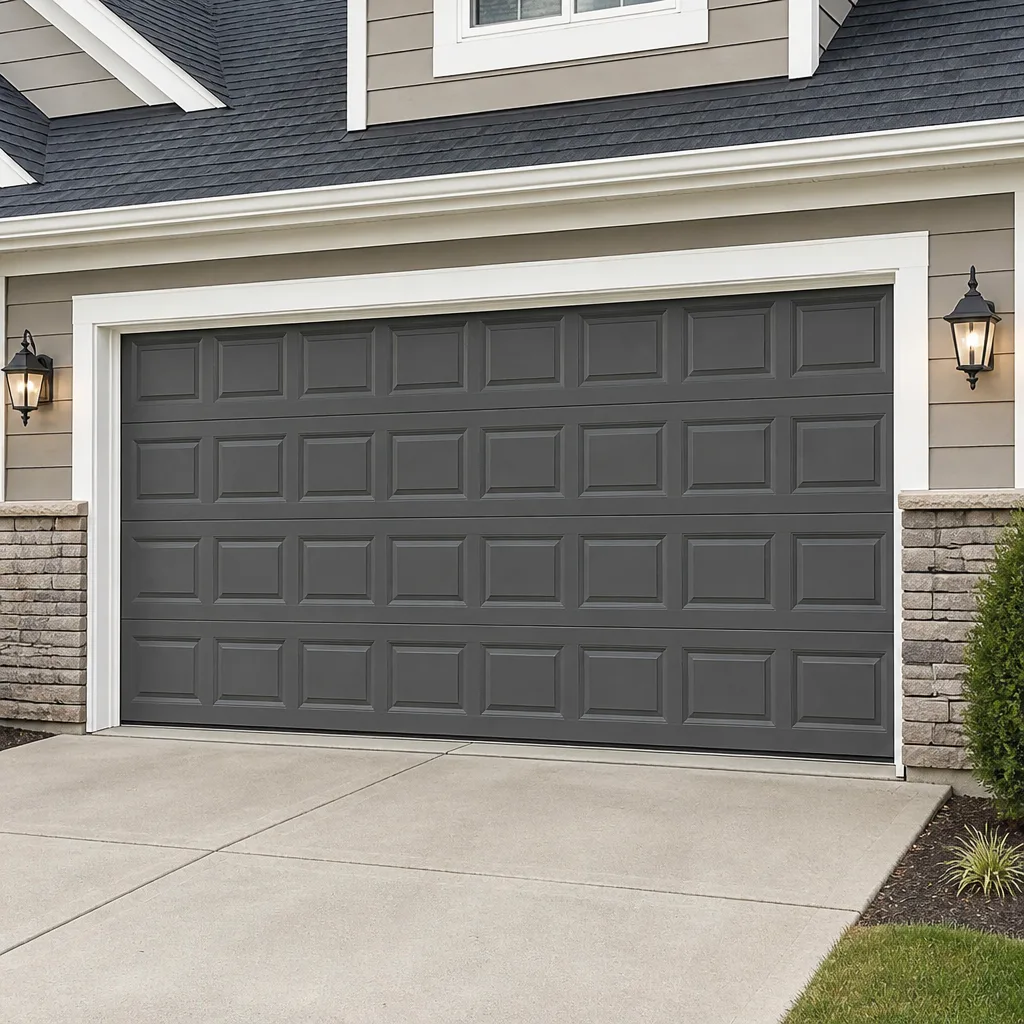 Raised-panel steel
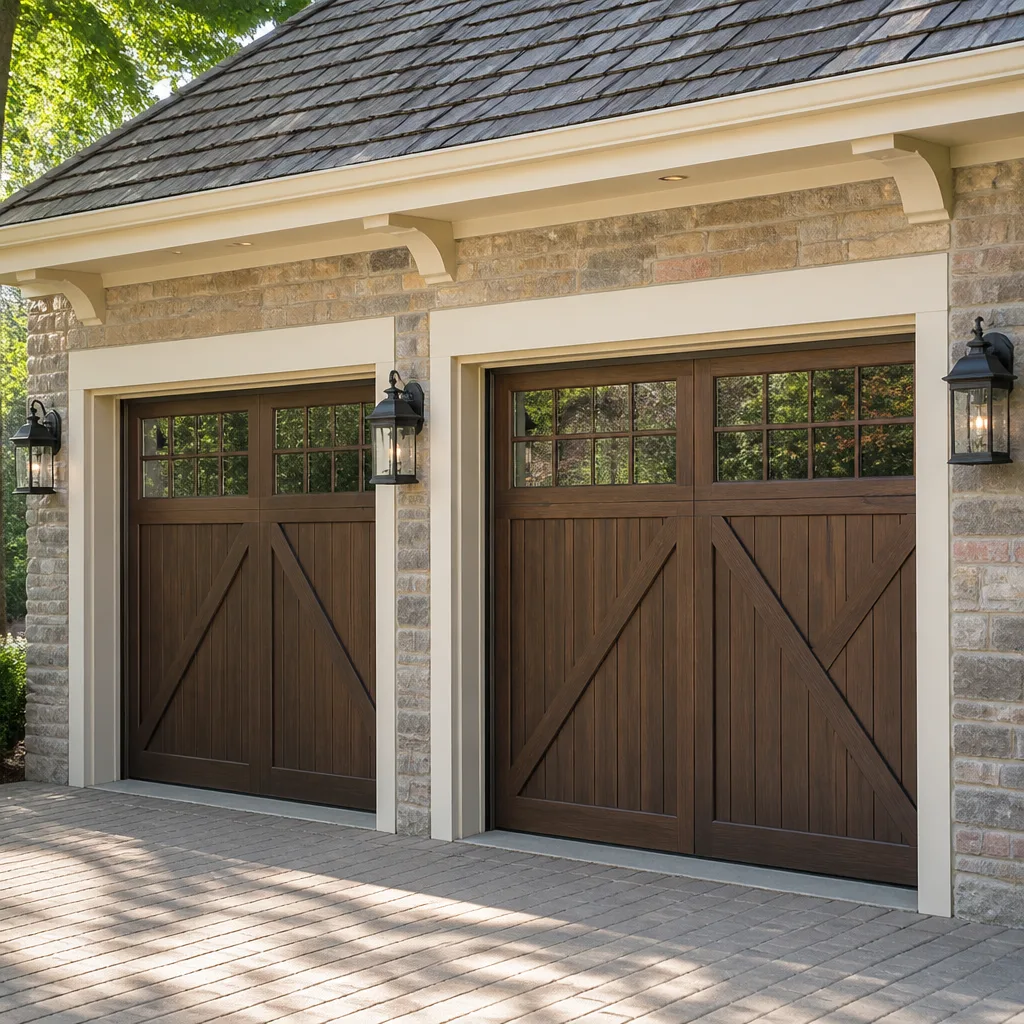 Carriage house
 Modern flush
 Full-view glass
 LiftMaster openers
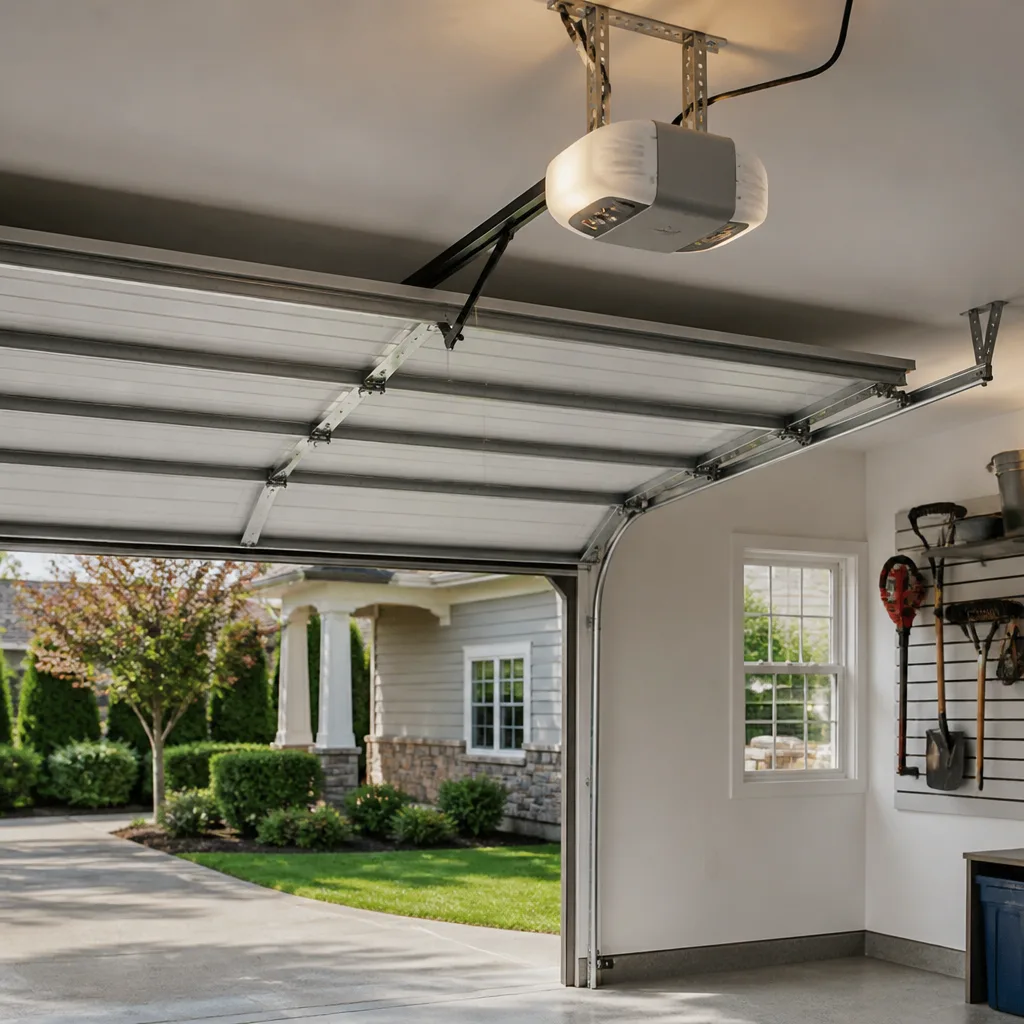 Chamberlain openers
Full 25-point door and opener safety check with every visit - springs, cables, rollers, tracks, and your LiftMaster or Chamberlain opener included
You get a price before we start. It does not change when the pro arrives.
Get your free estimateGarage Door Repair Maintenance Checklist for Collinwood Homeowners
Spring tension is not a DIY inspection item. That’s the sentence most published checklists leave out, and it’s the one that matters most in a neighborhood where every garage has a torsion or extension assembly carrying enough stored force to break a bone. We’ve seen the advice online: “open the door halfway, reach up, feel the springs for a gap.” That advice gets people hurt. So this guide draws a hard line. We’ll walk you through what you can safely check on a Collinwood garage door, what belongs to a trained technician, and how to document both so problems surface before a door fails. You’ll get the timing that suits Collinwood’s freeze-thaw winters and the straightforward steps that actually protect your door.
Quick Answer
A safe monthly garage door maintenance check means testing the door’s balance, travel limits, and auto-reverse without touching springs, cables, or torsion hardware, then lubricating the rollers, hinges, and track with a proper product. Spring, cable, and bracket inspections belong to a technician. In Collinwood, the freeze-thaw swing and road salt off the lake make a fall and spring inspection worth scheduling, with an annual professional service for the parts you shouldn’t handle yourself.
Styles & brands we work with
- Raised-panel steel
- Carriage house
- Modern flush
- Full-view glass
- LiftMaster openers
- Chamberlain openers
Table of Contents
- Why Collinwood Doors Need Their Own Maintenance Timing
- The DIY vs. Professional Line: What You Can and Can’t Check
- The Safe Tests: Balance, Travel Limits, and Auto-Reverse
- Lubrication by Component: What Goes Where, What Never Does
- What to Log After Every Inspection
- The Seasonal Schedule for a Collinwood Garage Door
- Opener Upkeep Without a Meter or a Ladder
- When a Checklist Item Becomes a Call
Why Collinwood Doors Need Their Own Maintenance Timing
Collinwood’s weather does particular things to a garage door’s moving parts. The freeze-thaw cycle is the big one. Moisture works into track joints and hinge pivots, freezes overnight, then thaws in the afternoon sun. That expansion and contraction loosens fasteners and wears down the metal surface where rollers ride. Do it hundreds of times a winter and steel that felt tight in October can rattle by March. The seasonal rhythm matters more here than in places with a single steady temperature, and a door on a north-facing garage wall sees that swing harder than one catching the afternoon sun.
Then there’s the salt the city spreads on the roads and the airborne grit that comes with lake weather. That residue does two things to a garage door. It works into the lower tracks and the bottom seal, where it acts as an abrasive, and it dries on hinges and roller stems as a film that gradually stiffens the mechanism. You’ll hear it before you see it: a door that once moved quietly starts grinding at the lower panels.
What that means for a maintenance plan:
- Fall: clean and lubricate before the first hard freeze, so nothing seizes while it’s cold.
- Winter: keep the bottom seal and lower track clear of salt-packed slush.
- Spring: check every fastener and hinge after the thaw, when the loosening has already happened.
- Summer: re-lubricate the moving parts after the grit of the prior season.
Collinwood’s older housing stock, with plenty of garages that share walls or sit tight to a fence line, also means less airflow around the door. Moisture lingers. That’s another reason timing matters here more than the generic “check it twice a year” advice you’ll find elsewhere.
The DIY vs. Professional Line: What You Can and Can’t Check
Most checklists blur this line, and that’s the problem. Here’s the clean version: you can test how the door behaves, and you can clean and lubricate the parts that move quietly. You should not go near the parts under tension. That’s it. Everything else in this guide falls on one side or the other.
Safe for a homeowner
- Visual check of the door, panels, and seal from the ground.
- Testing the door’s balance by hand with the opener disconnected.
- Testing the auto-reverse with a solid object.
- Checking travel limits by watching where the door stops.
- Cleaning the tracks and wiping down the bottom seal.
- Lubricating rollers, hinges, and the torsion bar bearings (not the spring coil itself).
- Tightening the bolts on the track brackets that hold the track to the wall (if they’re accessible and not under tension).
Belongs to a trained technician
- Any inspection or adjustment of torsion or extension springs.
- Cables, drums, and the brackets that hold them.
- The bottom bracket, which is under cable tension.
- Replacing rollers that have worn or cracked, once the door needs lifting or the spring is loaded.
- Adjusting torsion spring tension to rebalance the door.
- Any panel alignment or structural repair on a door under load.
Why the hard line? A torsion spring holds the full weight of the door in tension, and if it releases while your hands are up there, the result is serious injury, not a scraped knuckle. Fingers and hands are what spring wounds take. It’s not a risk to manage with gloves and nerve. It’s a risk to leave to someone with the right tools and training, and it’s why spring repair is something we treat as its own specialty rather than a side task.
If you’re not sure which side a task is on, the safe answer is always the technician side. If a check requires a ladder, or a tool, or reaching above the door’s mounting height, or anything to do with the springs, stop there. That’s a call, not a checklist item.
The Safe Tests: Balance, Travel Limits, and Auto-Reverse
These three tests are the core of what a homeowner can do, and they’ll catch most problems before they turn into a broken door. Do them once a month, and any time you hear a new noise.
Step 1: Balance test
- Close the door fully and unplug the opener (or pull the release cord if it has one; on newer openers, disconnecting at the wall control is often enough).
- Lift the door by hand to about halfway and let go.
- Watch what it does. A balanced door holds where you left it. A door that drops on its own, or that slides back down when you let go, needs a professional look.
- If it holds, lower it, reconnect the opener, and move to the next test.
If the door won’t stay where you put it, don’t try to fix it. That’s a spring tension problem, and it belongs on a technician’s schedule.
Step 2: Travel limits
- Run the door fully up and fully down with the opener.
- Check that it stops with the bottom edge resting firmly on the floor and the top panel sitting flush with the header.
- If the door doesn’t reach the floor, or the operator pushes past and the door doesn’t reflect its full length, the travel limits are off.
- On a Chamberlain or Genie opener, the adjustment is usually a pair of screws or a menu setting on the control panel. If you can’t find it quickly, leave it and book a visit.
Travel limits that are only slightly off cause the door to hit harder than it should, which wears the tracks and the opener gear. Now is a good time to glance at your opener manual if you have it, and if you don’t, note the opener brand and model for whoever visits.
Step 3: Auto-reverse test
- Place a solid object, like a piece of scrap lumber, flat on the floor in the middle of the door’s path.
- Run the door down.
- It should reverse direction immediately when it touches the object. If it meets resistance and reverses, the pressure setting is working.
- If the door keeps pressing into the object, or reverses only after a hard contact, stop running it and book a service.
The auto-reverse is a safety mechanism, and on any opener made in recent years it’s a required feature for a reason. Don’t test it with your hand, a piece of wood will tell you what you need to know.
Those three tests are the ones to repeat monthly. Everything else in this checklist runs on a longer cycle.
Lubrication by Component: What Goes Where, What Never Does
Lubrication is where more doors get damaged by owners than at any other step. The rule is simple once you know it: white lithium grease or a purpose-made garage door lubricant for the parts that pivot, and nothing that attracts grit for the parts that roll. Here’s what to use, and what to keep away entirely.
The right product by component
- Rollers: a few drops of garage-door lubricant on the roller stem (the shaft), not the wheel. Nylon rollers need very little. Steel rollers can take slightly more.
- Hinges: white lithium grease, a small dab at each pivot point, every hinge.
- Torsion bar bearings: a light coat of white lithium grease where the bar enters the plate. This is the part that rotates in place and every garage door on a torsion setup has one.
- Tracks: a light film is enough, and only if the tracks are dry and clean. Many technicians skip track lubrication altogether and treat it as a one-time step after cleaning.
- Lock and key: graphite powder, if your door has an exterior lock.
What never goes on a garage door
- WD-40 as a replacement for grease. It’s a penetrant, not a lubricant, and it evaporates.
- Motor oil. Too thin, runs, and attracts dust.
- Silicone spray on rollers. Sounds smooth, but it dries and leaves a film that dries out the bearing.
- Grease on the torsion spring coil itself. That’s a no, and it attracts grit.
- Anything sprayed above your head on the spring assembly. The spring itself is off-limits to a homeowner, full stop.
If you have a Clopay or Amarr door, the manufacturer’s label on the panels (usually the inside of the top panel) will often tell you what alloy the hardware is. Checking that is a safe, twenty-second step and saves a technician from guessing. On a lot of Collinwood doors, the label is already half-faded by the time you need it, so photograph it and keep it in the folder.
Once or twice a season is enough for lubrication, and a full application in late fall and again in early spring matches Collinwood’s climate better than any generic recommendation. If you hear grinding at a hinge after you’ve lubricated it, that’s a worn hinge, not a dry one, and it’s a repair, not a checklist item.
What to Log After Every Inspection
This is the step almost everyone skips, and it’s the one that pays off most. A note you wrote six months ago gives a technician a baseline. Without it, every visit starts from zero. Here’s what to write down, and how to make it useful.
What to record
- Date and temperature. A door that sticks at 20 degrees and works fine at 50 is telling you something.
- Balance test result. “Held at halfway” or “drifted down about an inch” is enough.
- Travel limits. Did the door reach the floor flush, or stop short?
- Auto-reverse. Reversed cleanly, reversed after a hard contact, or first try?
- Sound. Note anything new: rattling at the top, a clunk near the bottom, a hum from the opener. The brand and model of your opener is worth writing here too, especially if you’re running a Chamberlain or Genie unit, since the diagnostic steps differ.
- Anything you cleaned or lubricated. “Wiped tracks, lithium on hinges” is a single line and worth keeping.
- Anything you noticed but didn’t touch. A tiny gap at a spring, a bit of fray visible near a drum, a dent in a bottom panel. Don’t investigate. Write it down and flag it for the technician.
Keep the log on the inside of the top door panel with painter’s tape, or in a note on your phone. A year of entries tells a technician what changed, and when, which is worth more than a single snapshot on the day of the visit.
The Seasonal Schedule for a Collinwood Garage Door
Year-round maintenance on a Collinwood door lines up with the seasons rather than a calendar. Here’s what to do and when.
Fall (before the first freeze)
- Clean and lubricate rollers, hinges, and torsion bar bearings.
- Wipe the full length of both tracks. Packed grit combined with the first freeze is the biggest source of track problems.
- Check the bottom seal. A stiff or cracked seal lets cold air and moisture into the garage and is a straightforward swap.
- Test balance, travel limits, and auto-reverse.
- If your garage holds a lot of road grit, consider a professional service visit to check fasteners before winter.
Winter (monthly, when possible)
- Clear slush and salt off the bottom of the door and the track entrance.
- Run the safe three tests, and note any change in sound.
- Keep the garage’s interior above freezing if there’s water in the track or on the track walls; sheets of ice in the track crack rollers.
Spring (after thaw)
- Full clean and re-lubricate.
- Check accessible bolts on the track brackets with a wrench, hand-tight only.
- Book an annual professional inspection if it’s been a year since one.
Summer
- Clear grit from hinges and rollers after the buildup season.
- Check the bottom seal and the weatherstripping around the frame.
Most of a year of this work takes about ten minutes a month. The point is that the seasonal pieces catch the deterioration that happens in the interval between professional visits. When a door is treated only as a broken thing you fix, you end up paying for the repair. When it’s treated as a system you keep on a schedule, you tend to avoid it.
Opener Upkeep Without a Meter or a Ladder
You don’t have to become an opener technician to keep it healthy. Most opener problems show up as symptoms first, and your job is to notice the symptom rather than take a reading with a multimeter.
What to watch
- Strange sounds. A hum without movement (a stuck or tripped opener), a grinding sound (worn gear), or a chain slap (loose chain) are all signs to book an opener repair instead of ignoring.
- Light behavior. A flashing light or a light that won’t come on after a press is often the opener reporting a fault through the safety sensor. Clean the lenses on the two sensors near the bottom of the track and check that neither is misaligned.
- Remote range. If the remote works in front of the door and not from down the block, the batteries in the remote or the antenna alignment are the usual culprits.
- Force setting. If the door is pushing bodies, bicycles, or a person back out of the way, the force setting is too high. That’s a technician adjustment, not a homeowner one.
What not to do
- Don’t climb a ladder to reach the opener housing unless the manufacturer’s manual tells you to.
- Don’t bypass the safety sensors, even temporarily.
- Don’t change the force limit by trial and error.
- Don’t open the opener housing. That’s a technician’s job, and there’s a reason the manual keeps it that way.
Most name-brand openers, including the Chamberlain and Genie units we see across Collinwood, hold up well with this level of attention. When something goes wrong, a technician who knows the specific brand can usually diagnose it in a single visit rather than two. We service all eight of the widely installed residential garage door and opener brands, which means no guesswork on the make up there. If you want the step-by-step fix on a particular opener, that’s a conversation for garage door opener repair rather than a checklist section.
When a Checklist Item Becomes a Call
The line between “wait and see” and “call today” is sharper than most guides suggest. These are the situations worth picking up the phone for.
- The balance test fails and won’t stay where you put it. That’s a spring tension problem.
- The door doesn’t reverse cleanly on the test object. That’s a safety issue, and it shouldn’t wait for a convenient day.
- The door is stuck open or stuck closed and won’t move. Emergency service territory, especially if the door won’t close and leaves the garage open.
- A spring has visibly broken or the door dropped and sits crooked. Nobody touches that but a trained technician.
- A cable is off its drum or visibly slack. Same rule.
- You notice a visible crack, bend, or sag in a bottom panel. That’s a structural issue you can’t check safely.
- You hear regular grinding at the top of the door after cleaning and lubricating. A worn part is calling for replacement.
If you’re in doubt about which side an item sits on, call. We’d rather field a question about a loose hinge than meet a homeowner with a spring injury.
Common Mistakes to Avoid
- Touching the springs “just to check.” This is the mistake that causes injuries every year. Spring inspection is not a maintenance item a homeowner can do, even with a flashlight, and a checklist that includes it is doing you damage.
- Lubricating the tracks heavily. Grease on tracks holds grit, and in Collinwood’s weather the grit turns abrasive fast. If you oil the tracks at all, wipe them clean first and use the lightest possible coat.
- Skipping the balance test because it takes two minutes. It’s the cheapest early warning you have on a worn spring, and it costs nothing. Skip it and you’ll find out about the problem through a broken spring instead.
- Trusting the auto-reverse without testing it. The mechanism can drift out of adjustment over a season, and people only notice when something is in the way. Test it with a piece of wood monthly.
- Not keeping a log. Without notes, you’re starting from scratch on every visit. A door that’s been rattling since December is a different call in March than one that started yesterday.
- Waiting on a door that failed the balance test. A door that’s drifted down is being pulled by something that’s over-tensioned, and the longer it runs the more it wears the opener and the tracks.
- Treating an opener light fault as a fuse problem. Nine times out of ten it’s the safety sensor alignment or a dead remote battery. Clean the lenses and test again before you assume you need a new opener.
See the difference
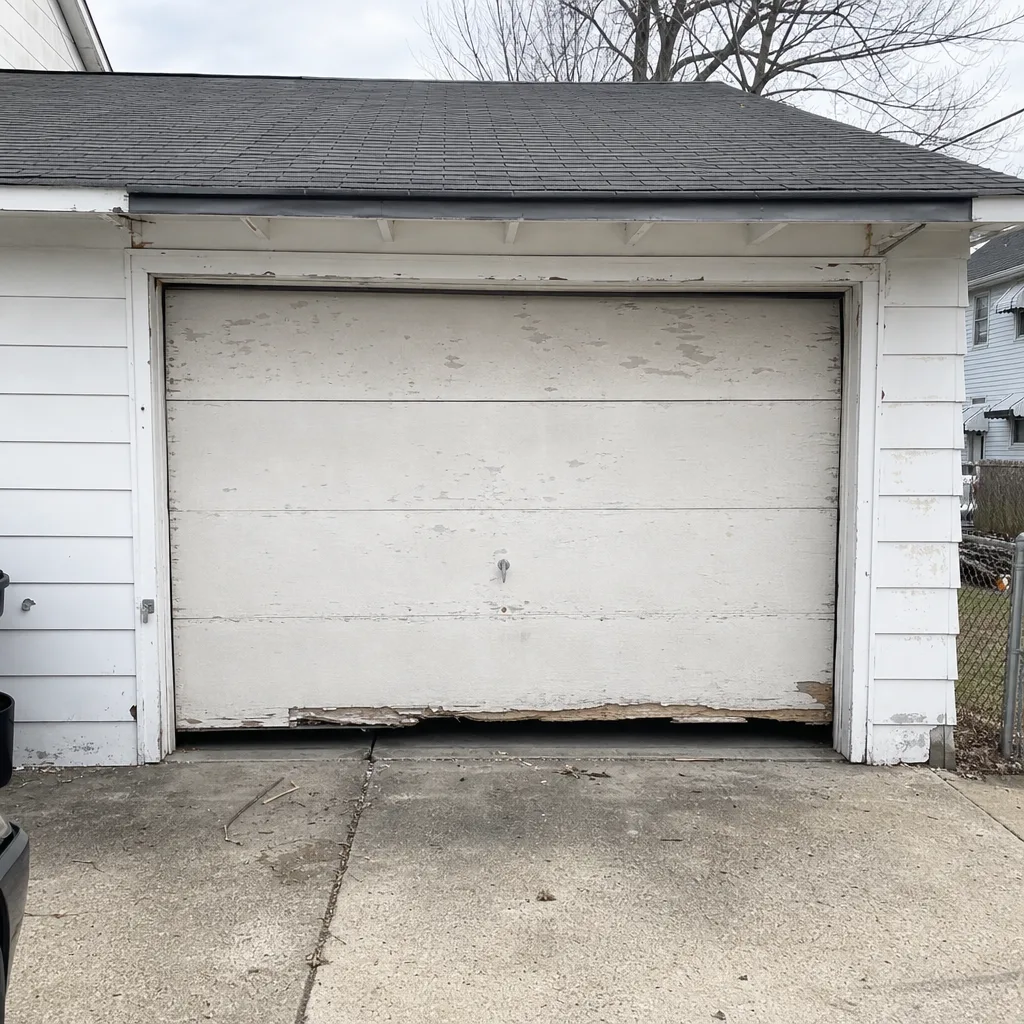 Before
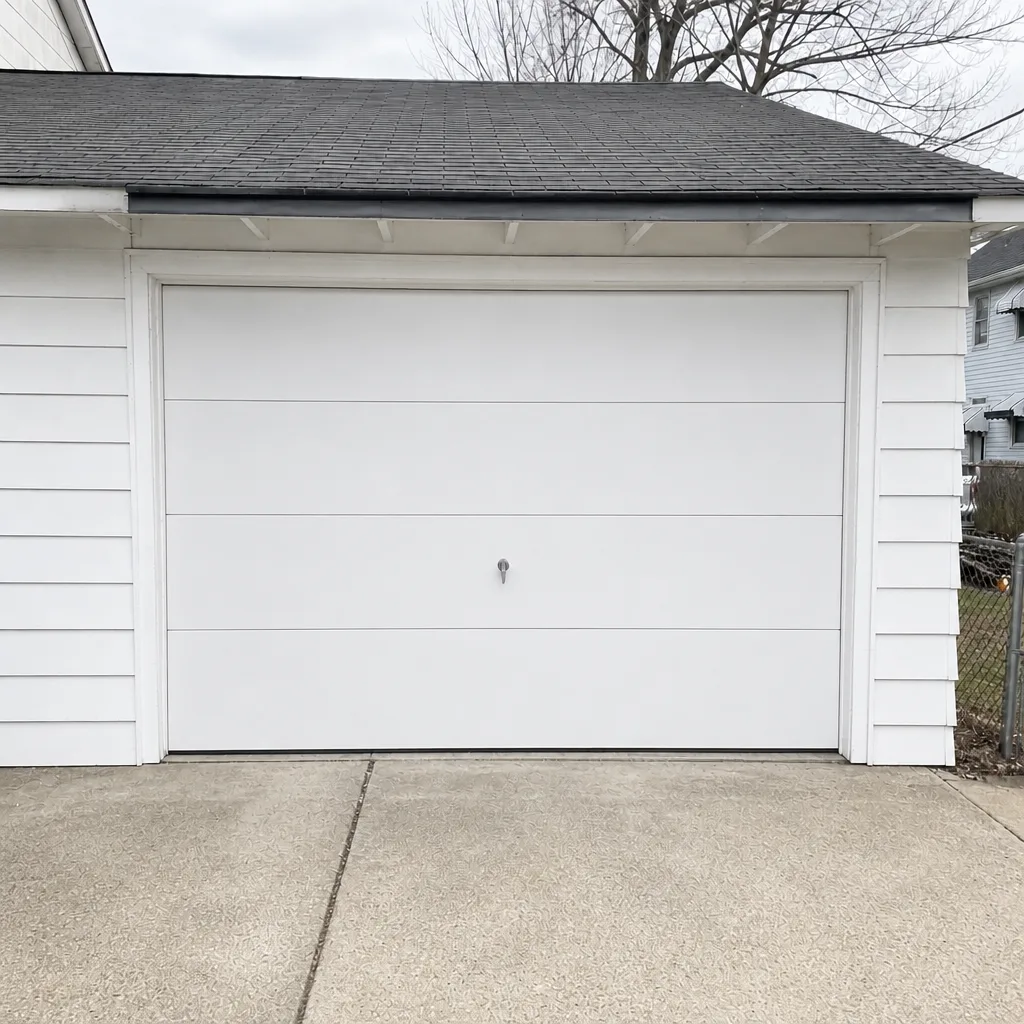 After
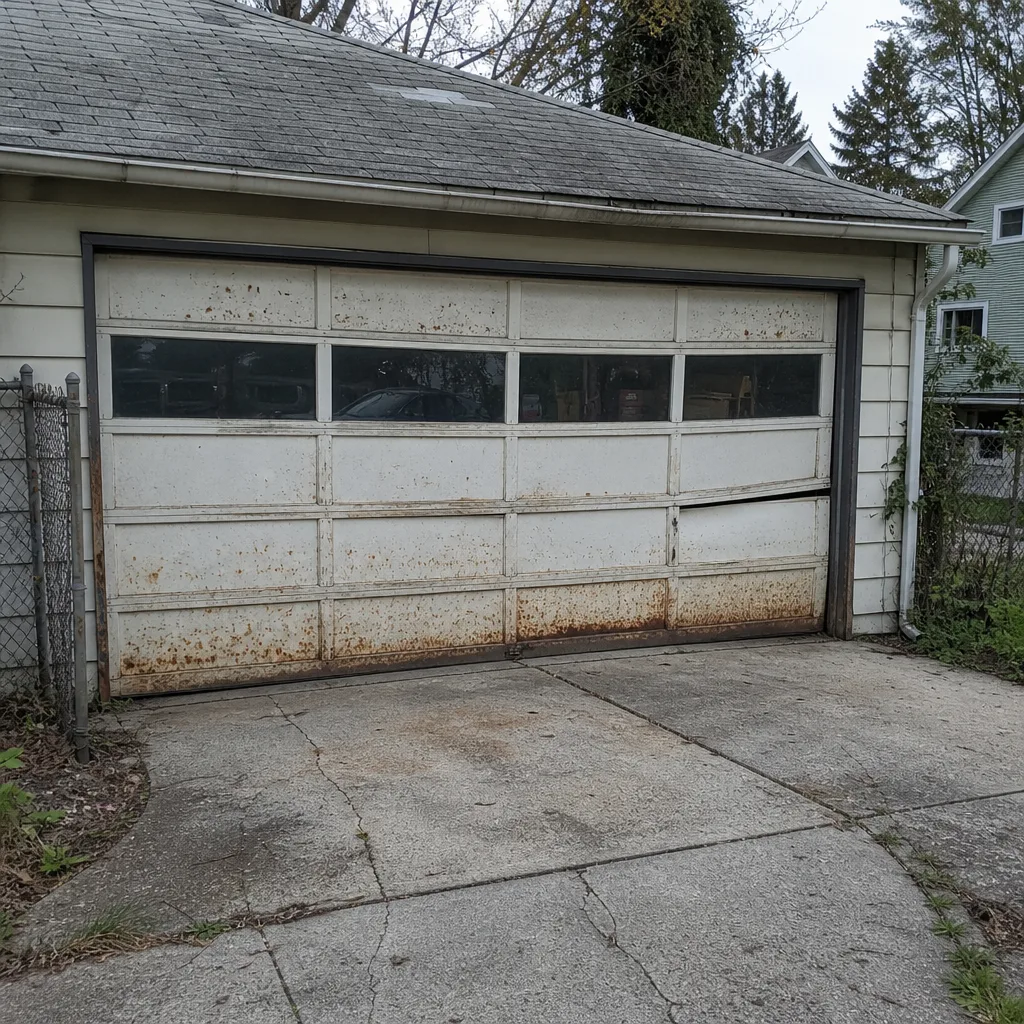 Before
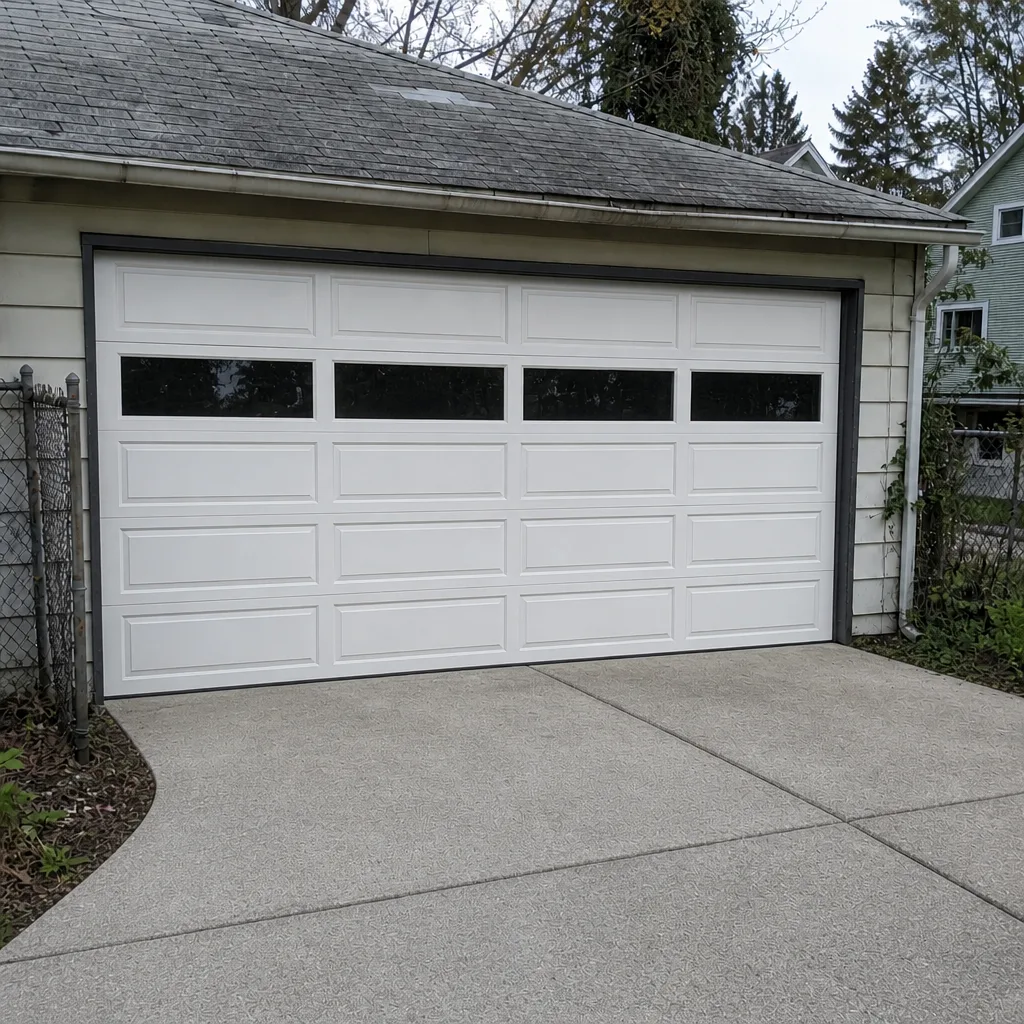 After
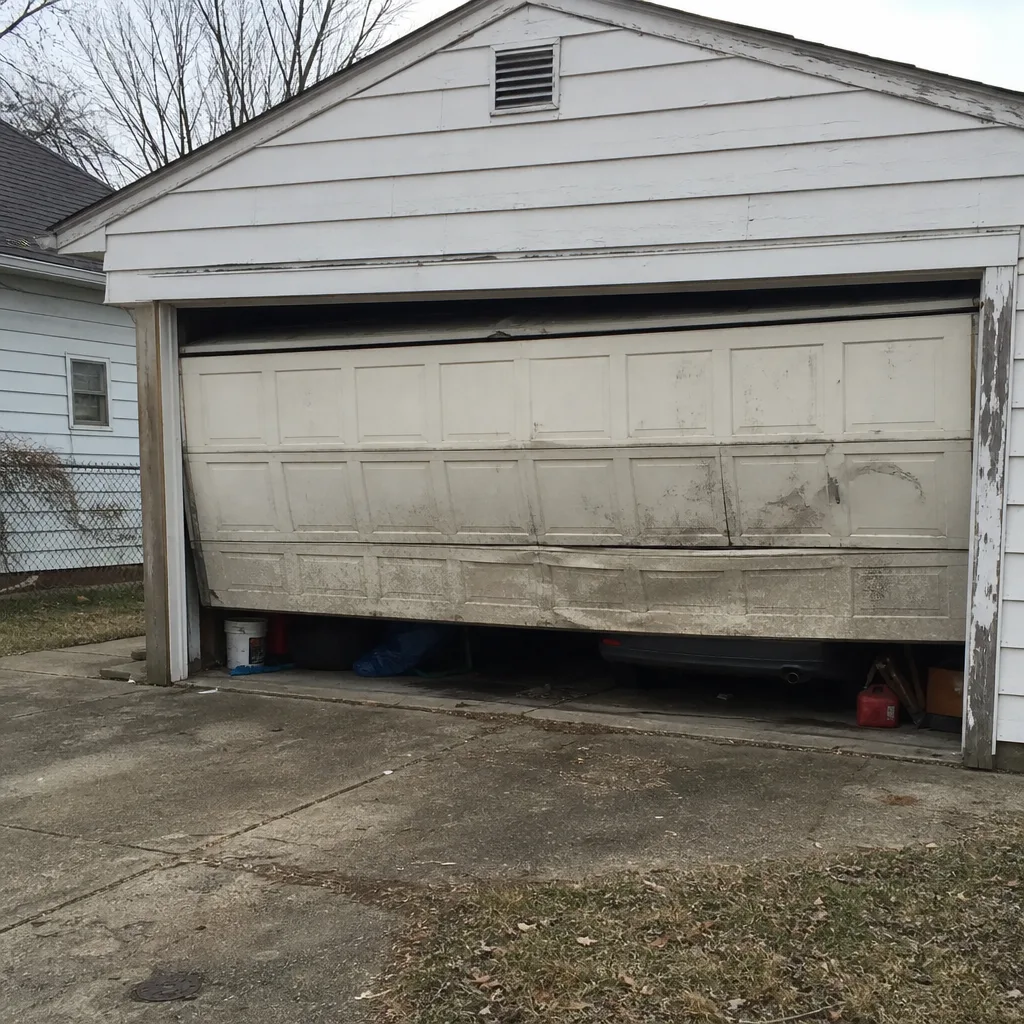 Before
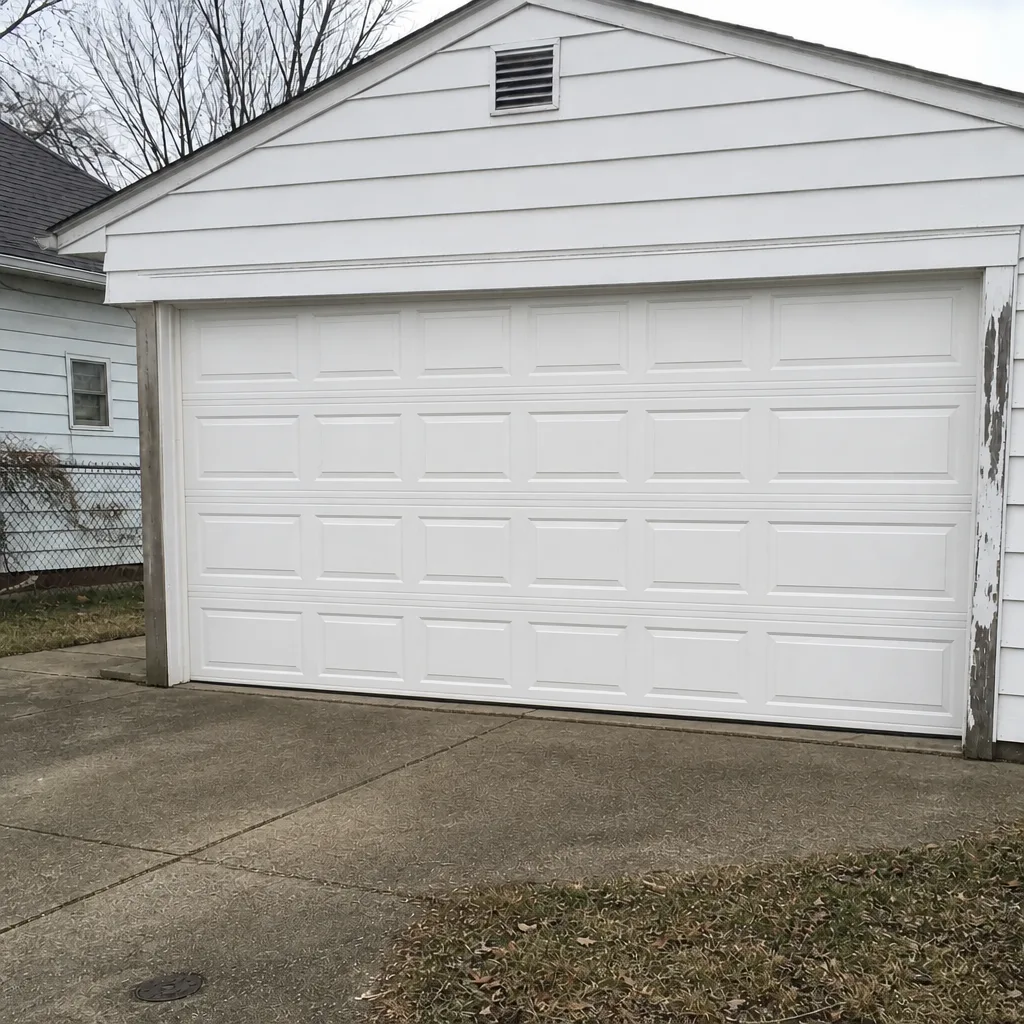 After
When to Call a Professional
Call a professional any time a check crosses into spring, cable, or bracket territory. Call the same day if the door is stuck open, stuck closed, or won’t reverse on a test object. Don’t diagnose a failed balance test yourself, and don’t touch the assembly if you see a broken spring, a slack or off-drum cable, or a door that sits crooked. Those are the calls where waiting costs more than acting. A trained technician can also spot deterioration, like metal fatigue at a hinge or a roller that’s worn on one side, that a homeowner can’t see safely from the ground. Garage Door Repair Collinwood offers free estimates in Collinwood. Call (844) 919-4174 and we’ll get a technician scheduled to look at what your checklist turned up.
What we handle: garage door repair, opener diagnostics and repair, full garage door installation when a door is past saving, dedicated spring repair, and emergency response for a door that won’t close. If you want to start at the front door, that’s Garage Door Repair Collinwood.
Frequently Asked Questions
Run the three safe tests (balance, travel limits, auto-reverse) once a month, and book an annual professional inspection. Collinwood’s freeze-thaw winters make the fall and spring check-ins the most valuable ones. Fall catches anything loosened by the summer, and spring catches what the winter did. Call (844) 919-4174 for an exact quote – estimates are free.
No. Springs are under enough tension to cause serious injury, and inspection requires looking at a component that can release. If you see a broken spring, a gap, or a door that has dropped, call a technician. Don’t examine it further – call (844) 919-4174 and we’ll get someone out to look at it safely.
White lithium grease on hinges and torsion bar bearings, and a few drops of garage door lubricant on roller stems. Keep silicone spray, motor oil, and WD-40 off the rollers, and don’t put anything on the spring coil itself. If you’re not sure about a part, book a technician and have them apply the right product in one visit. Call (844) 919-4174 for an exact quote – estimates are free.
The freeze-thaw cycle does. Moisture in track joints and hinge pivots freezes and thaws repeatedly, loosening fasteners and wearing the metal surface where rollers ride. Road salt tracked in off the streets adds an abrasive that stiffens the mechanism. Cleaning and lubricating before the first freeze and after the thaw is the most effective thing a homeowner can do. Call (844) 919-4174 for an exact quote – estimates are free.
No – the price is quoted and agreed before any work starts, and the written estimate sets the final price. What the technician finds on-site is what the estimate reflects, and you’ll see it before they pick up a tool. Call (844) 919-4174 for an exact quote – estimates are free.
Repair usually wins on a door with a single failed part, a cracked panel, or a worn opener. Replacement makes more sense when the door has structural damage across multiple panels, is so worn it no longer holds an adjustment, or you want a different style. Either way, the estimate sets the price, and no work starts until you’ve agreed to it. Call (844) 919-4174 for an exact quote – estimates are free.
The Bottom Line
A garage door maintenance checklist helps if – and only if – it’s honest about what a homeowner can safely do. The balance test, travel limits, the auto-reverse test, cleaning, lubricating rollers and hinges, and keeping a log are all yours. Springs, cables, drums, the bottom bracket, and any adjustment on a loaded door belong to a trained technician. In Collinwood, the freeze-thaw swing and the road salt off the lake mean the fall and spring checks earn their time, and an annual professional inspection is worth the call.
If your checklist turns up something you shouldn’t touch, call us. Our technicians have up to 13 years of experience, we work in your brand, and your door gets diagnosed and fixed in one visit. Call (844) 919-4174 for a free estimate. We answer 24/7. Fast dispatch from 7am to 7pm, Sunday through Friday.
Written by the team at Garage Door Repair Collinwood.